Features
- 20,000 lb and 40,000 lb force capacity
- 3,350 lbf∙ft and 7,000 lbf∙ft moment capacity
- Measures three perpendicular forces
- Measures three moments
- Environmentally protected
- Temperature compensated
- Rugged construction
- Weatherproof connectors
- The Quality Management System is accredited to the ISO 9001:2015 and ISO 17025:2017 standards
Description
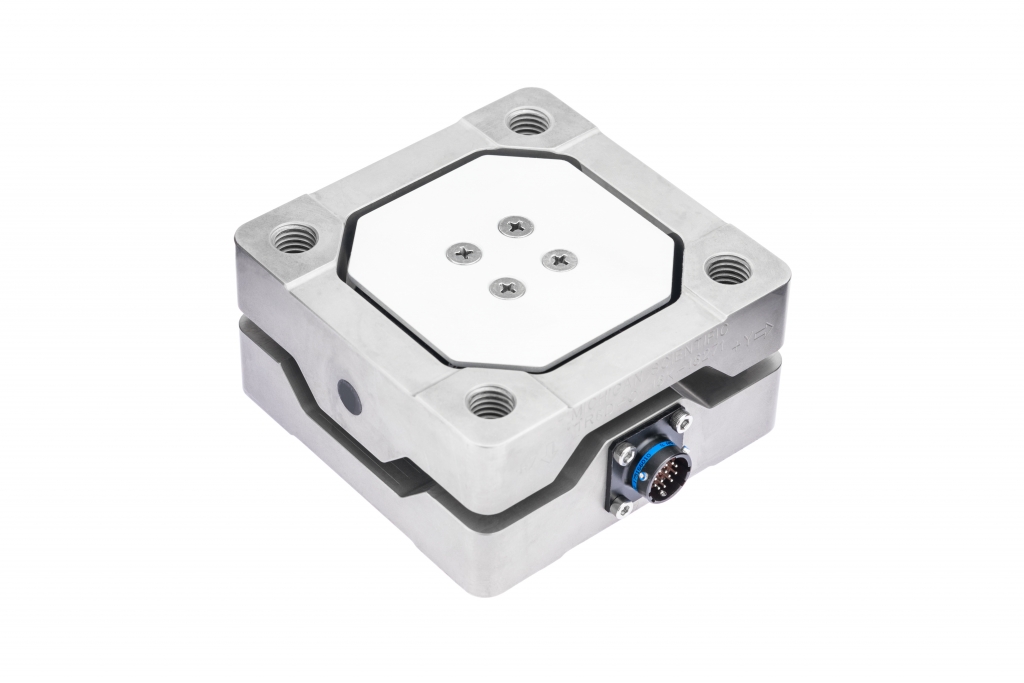
Michigan Scientific’s TR6D-C-20K and TR6D-C-40K Square Six Axis Load Cells are designed for applications that require both force and moment measurements. With 20,000 and 40,000 lb force and 3,350 lbf∙ft and 7,000 lbf∙ft moment capacities, these rugged transducers are ideally suited for both field data acquisition and laboratory testing. Each transducer has identical top and bottom mounting surfaces and bolt patterns, and can be easily adapted to an unlimited variety of applications.
High grade stainless steel material, in addition to weatherproof sealing, combine to provide excellent resistance to corrosion and environmental conditions. Temperature compensation of the transducer ensures stable output throughout a wide temperature range.
Calibration
We have spent years perfecting our unique, patented transducer calibration machine, the TCAT. A calibration compares the electrical output of a transducer to the applied loads. The TCAT can calibrate all MSC multi-axis load cells, Wheel Force Transducers, and Wheel Torque Transducers. The TCAT applies loads with linear actuators and measures the load through the transducer via reaction links. It applies three forces and three moments and calibrates through each transducer’s unique electronics package. In addition to the TCAT, MSC has a large calibration that uses hydraulic arms to apply forces and moments; up to 100,000 lbs.
The Michigan Scientific transducer calibration process complies with ISO9001:2015 and ISO17025:2017 requirements and all reference measurement equipment is traceable to National Institute of Standards and Technology (NIST). It is recommended that customers send in their transducers after one year of use, and then every two years after that. This is an easy way to ensure that the transducer is functioning properly and has not incurred any damage during use.
With the development of the patented transducer calibration machine, calibration time has significantly decreased, allowing for a faster turnaround and return to customer. There are multiple locations throughout the globe to get a Michigan Scientific transducer calibrated. The calibration process is now also automated, which allows our highly skilled technicians to focus on transducer design and manufacturing improvements.
Documents
Tech Notes
Related Blog Posts
Last Modified:


